TB Car Dealer Editor
Download
Description
How to use the TB Car Dealer Editor
- This prefix must be entered in the second line of each
types.xmlthat the editor has to read. If atypes.xmlfile is incorrect, the program may crash. So check your files with this beforehand. Xml Validator: https://www.freeformatter.com/xml-validator-xsd.html
<!-- Prefix="types" -->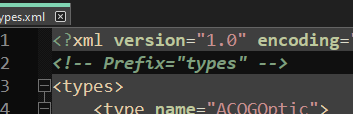
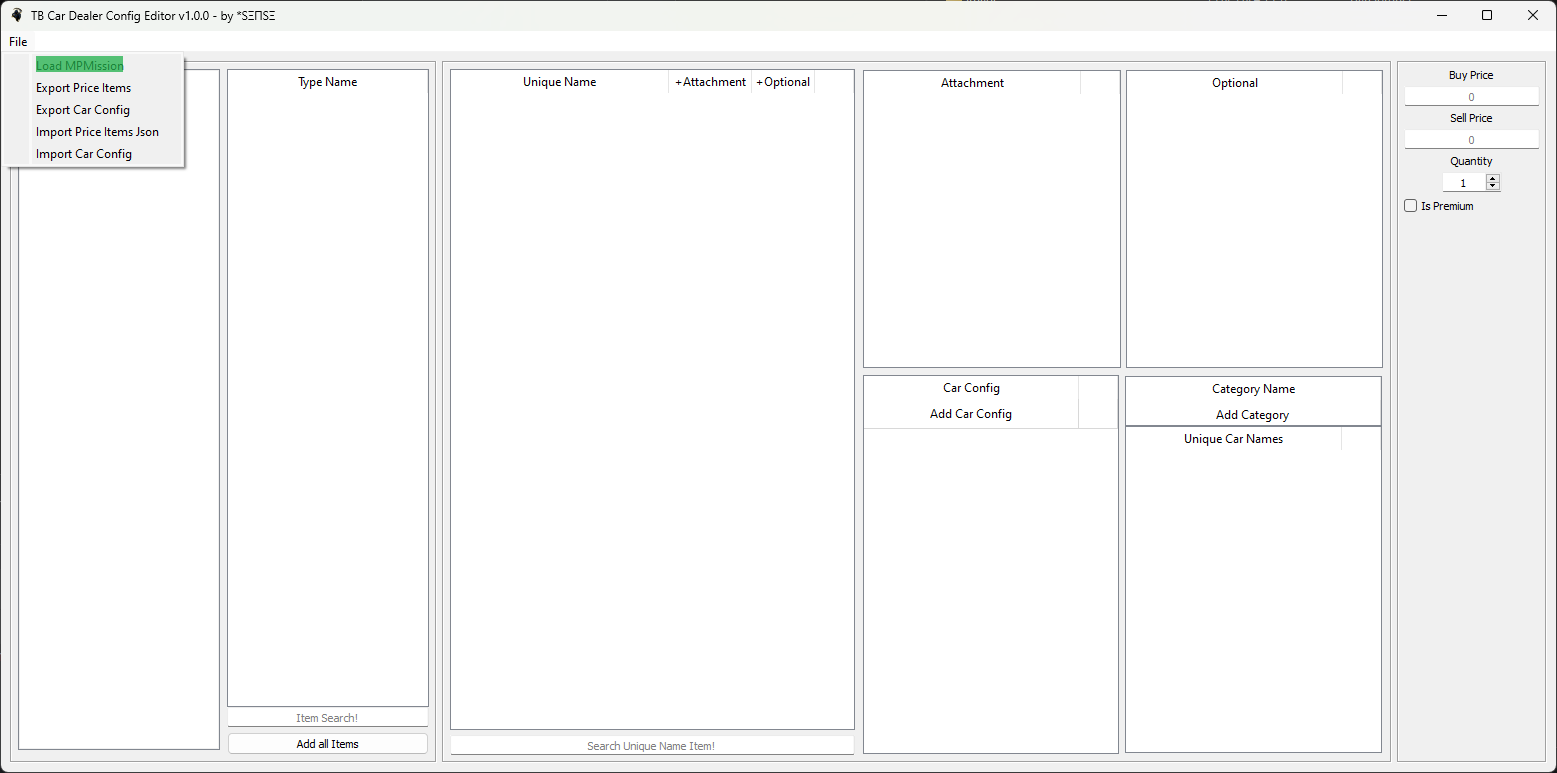
- Click on
Fileat the top left and then onLoad MPMission. Navigate to your MPMission and click on Select folder
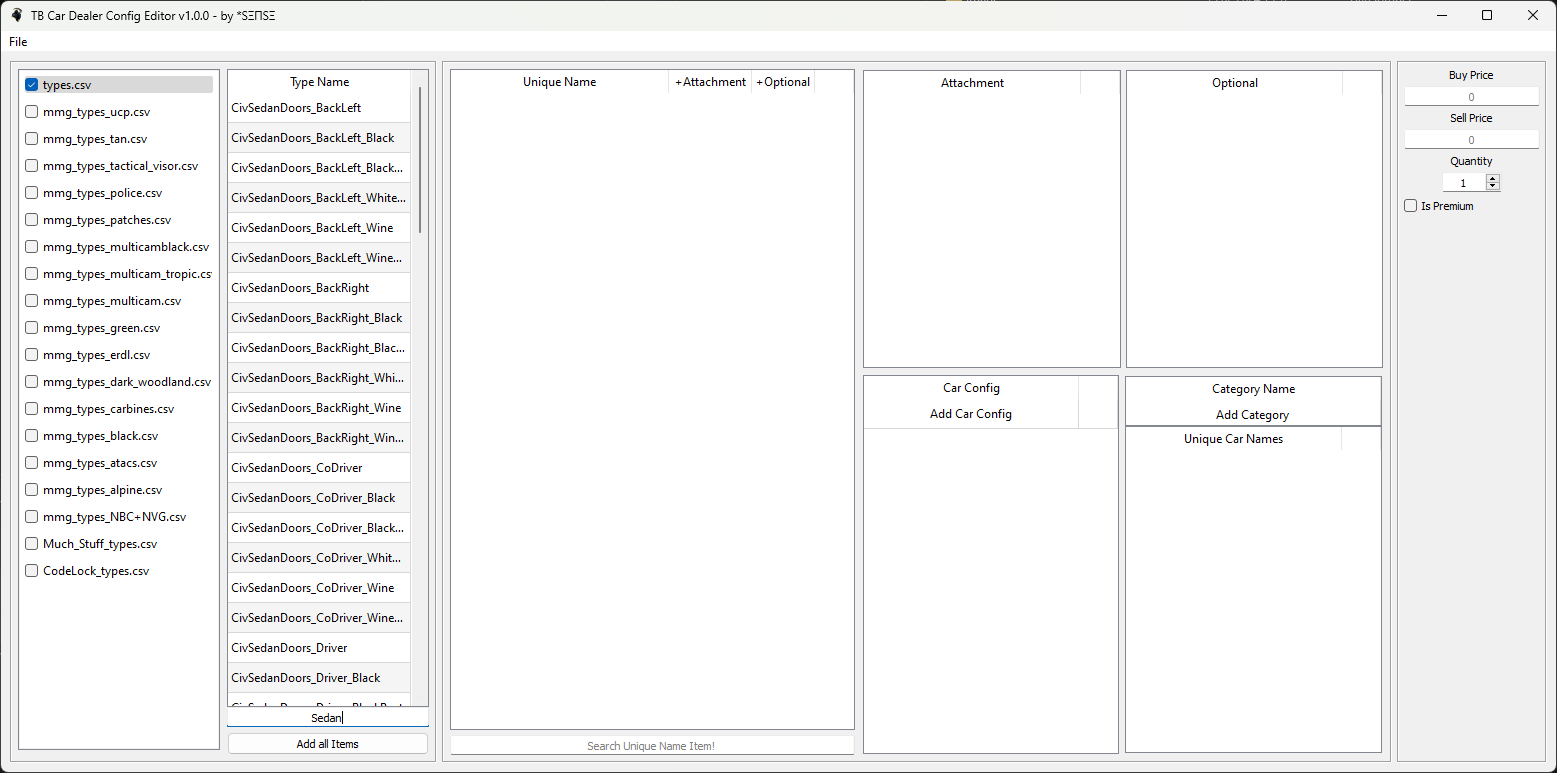
The
Types.xmlfiles in which you have entered the prefix in the second line will be displayed as checkboxes in the list.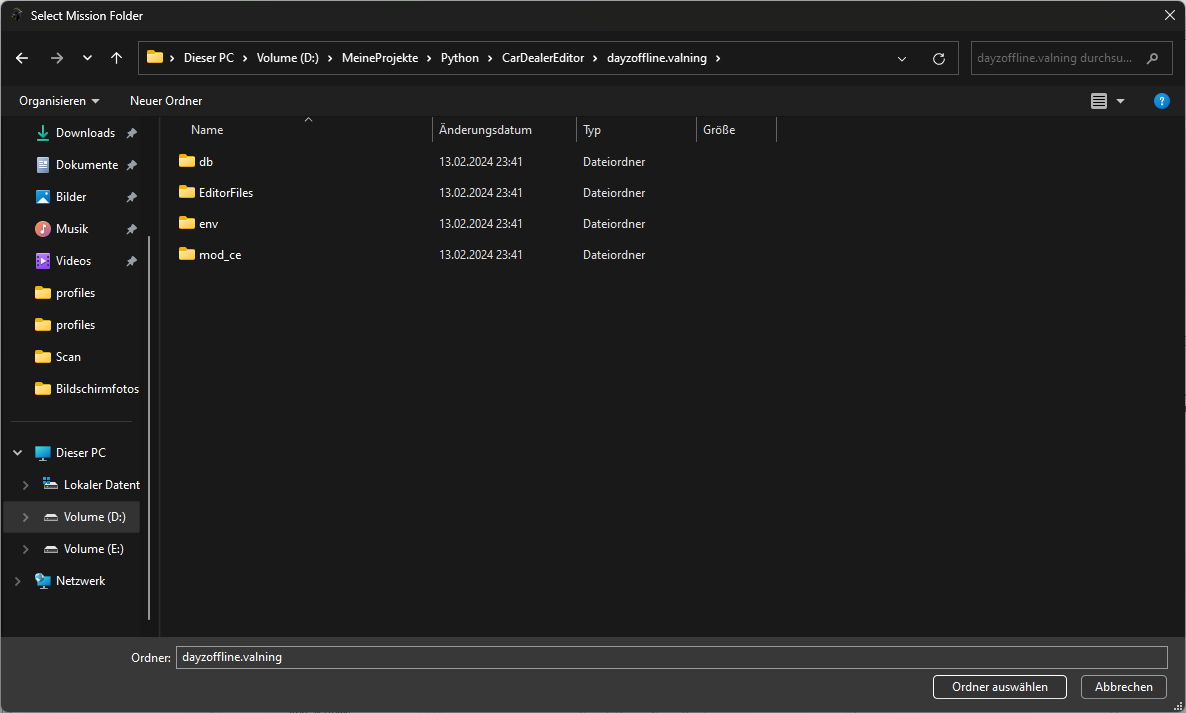
You could check them and the entire content will be displayed in Type Name.
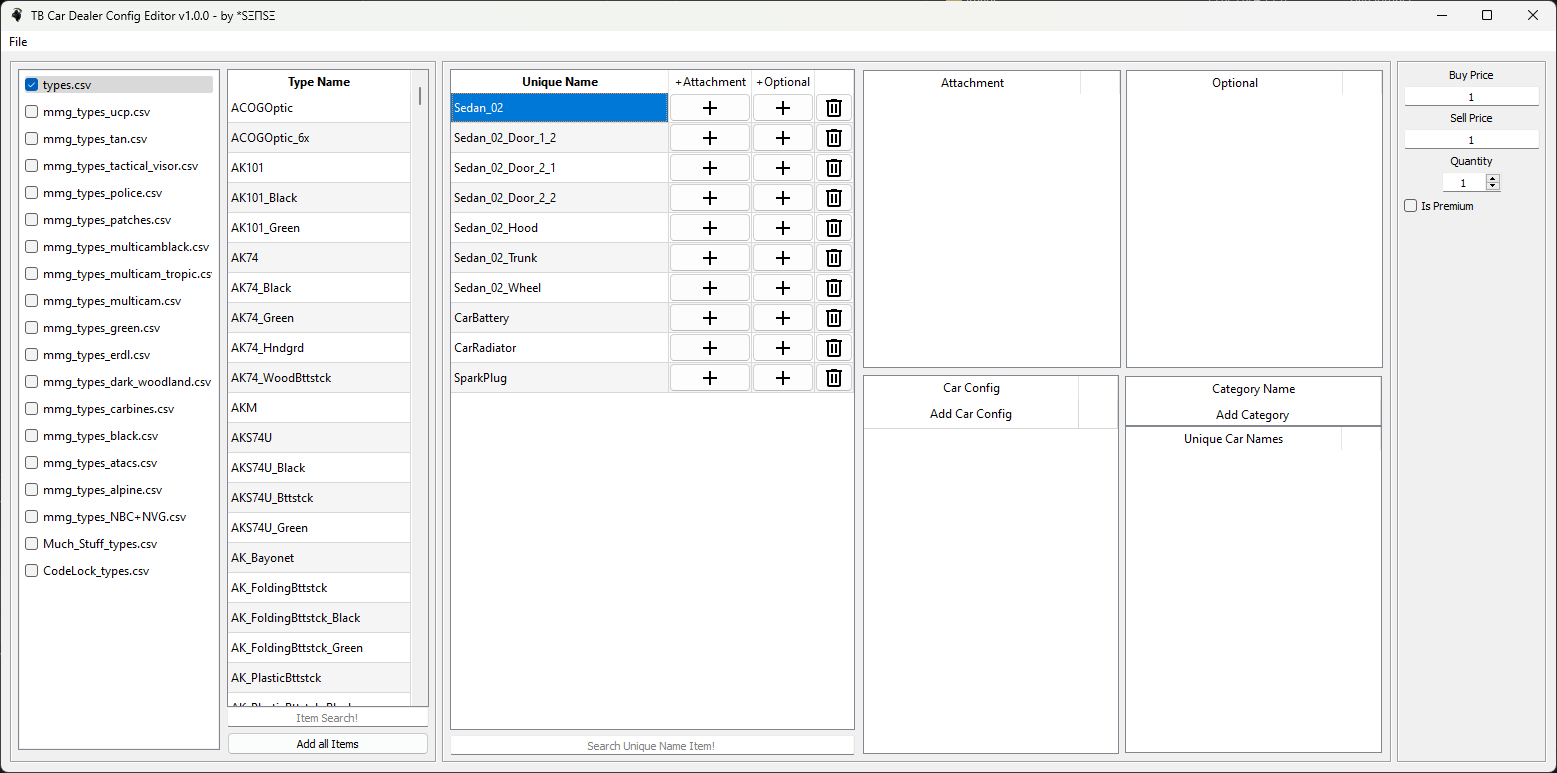
Double-click on an item to add this item to Unique Name. At the bottom you have the option to search for specific items/type names or click on Add all Items
To:
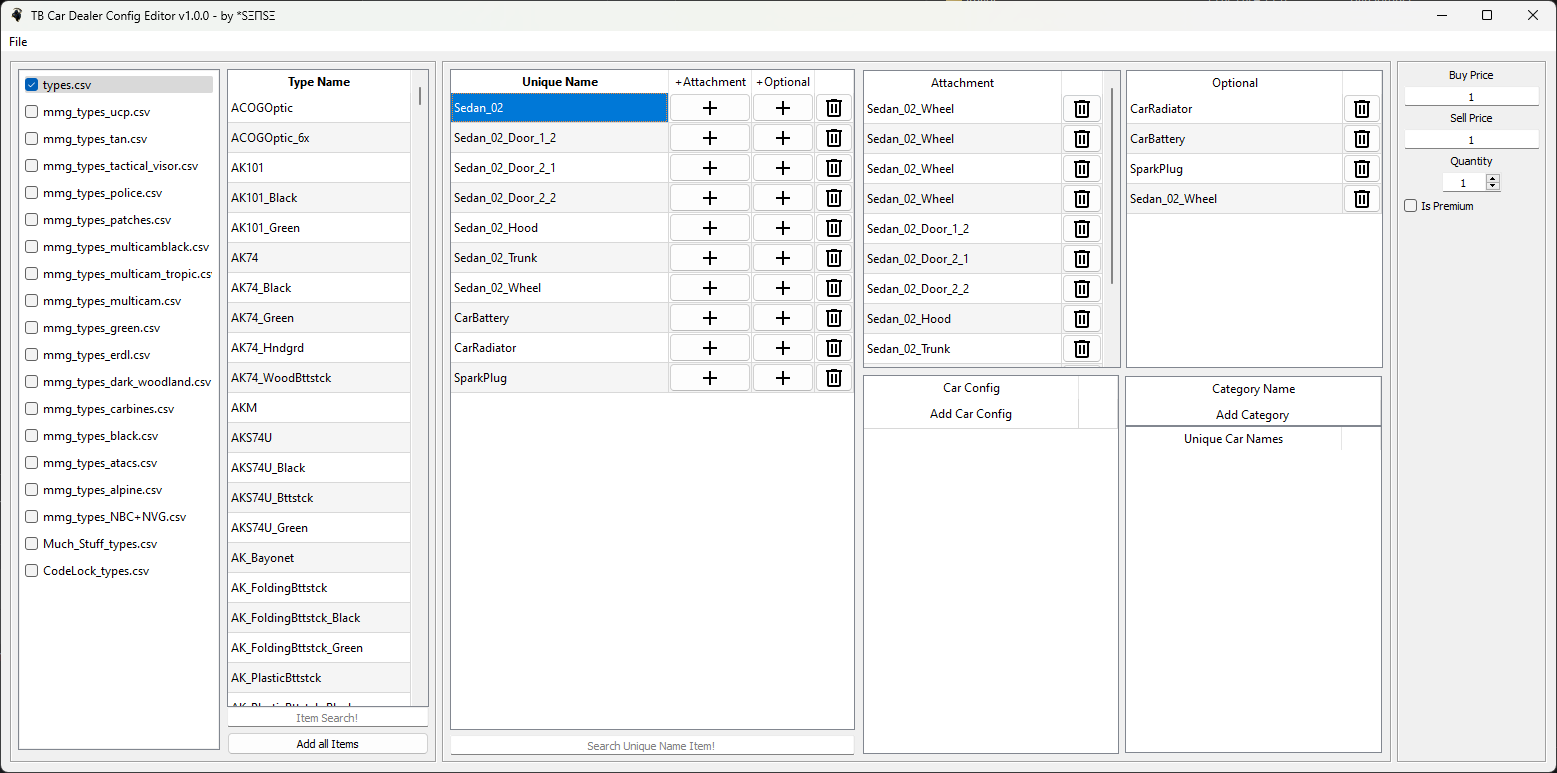
- add attachments
- optional items
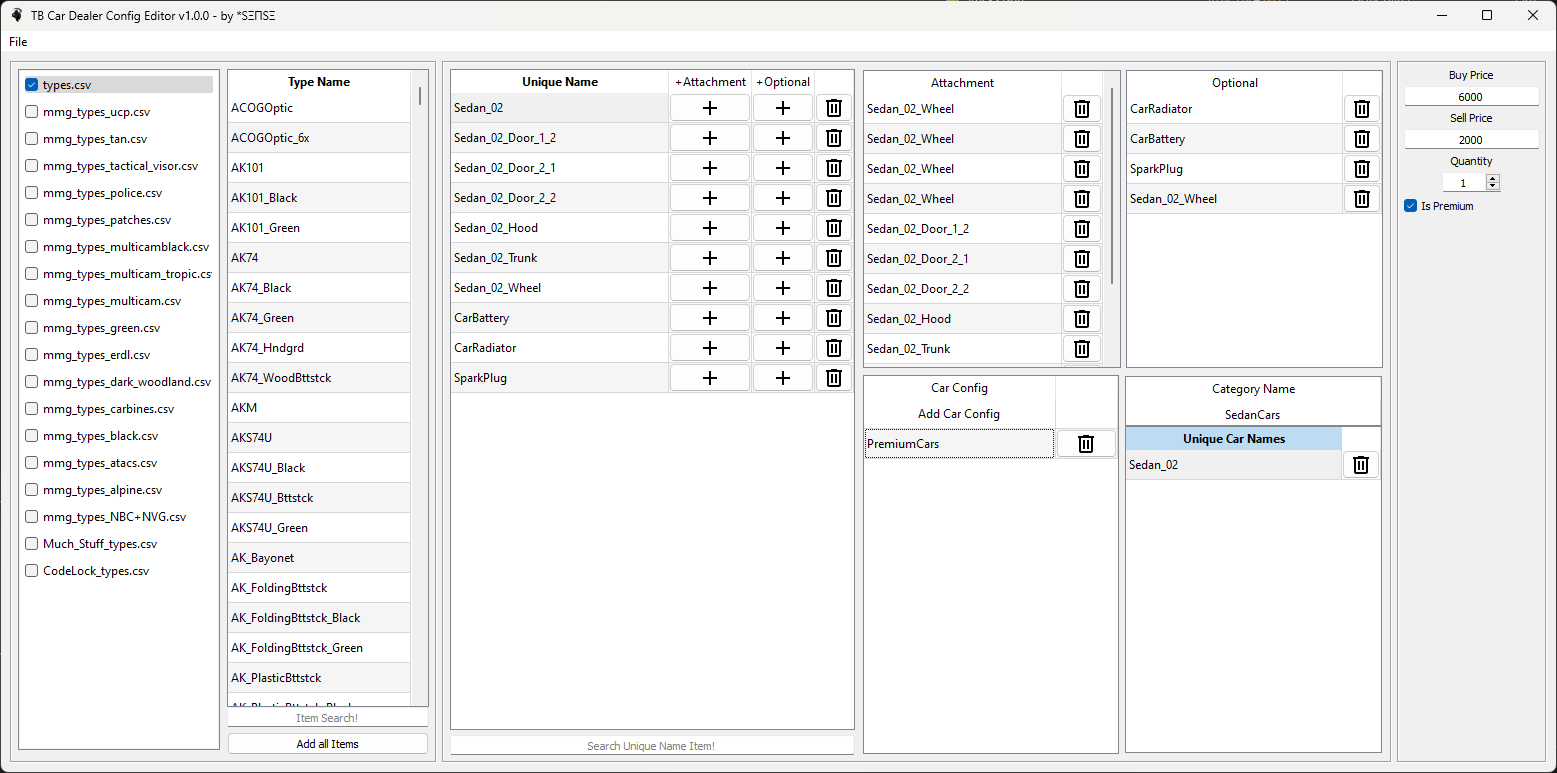
- to change the purchase price
- sell price
- quantity
- premium status of an item
click once on the item in Unique Name and then click on the + next to the item you want to add or enter the desired values for Price, Sell, Quantity and Is Premium.
- To create a CarConfig you have to double click on
Add Car Configand then enter the name you want. - To enter a category name in the CarConfig you have to double click on
Add Category(here in my picture it is already called SedanCars because I gave the category a name) - Left-click in the
Car Configto select the Config you want to add vehicles. Then double-click on the vehicle in the list ofUnique Nameto add it to the selected Car Config.
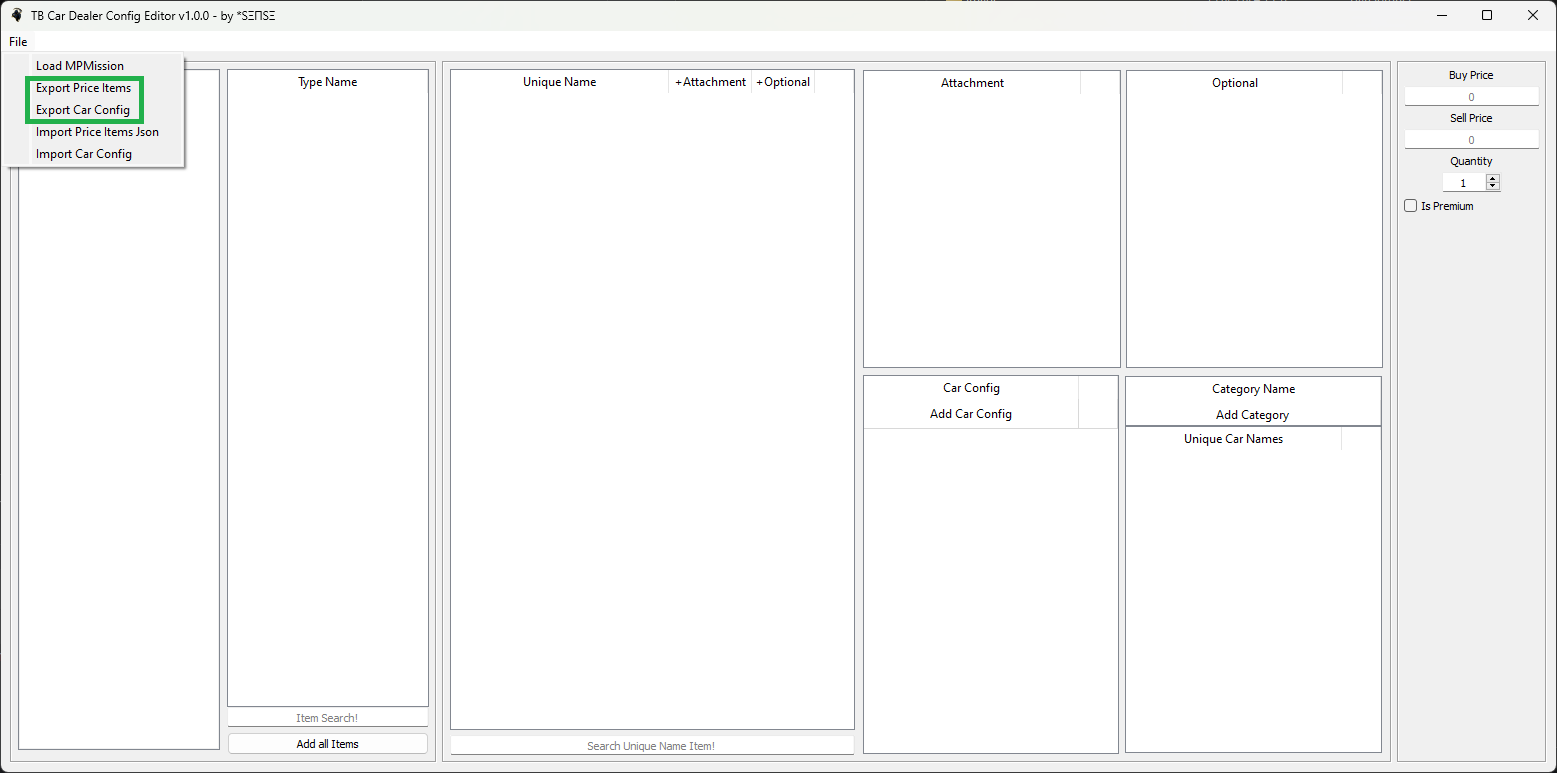
- To export your work, click on
Fileat the top left and selectExport Price Items. - Navigate to the folder where you want to have the .json files and click on
Select folder. The files will now created in that folder. - Do the same with Export Car Config.
- You can import existing PriceItems files as well as existing CarConfigs.
I advise you to import both before editing PriceItems and CarConfigs to avoid errors later on.